Video: 17 Common Painting Mistakes and How to Avoid Them *Currently 283 views
Painting a Room Minus the Common Painting Mistakes
We know what it’s like.
You want to paint that room or wall.
You’ve seen the colour swatch you like. You’ve bought paint on the spot, and now you’re raring to go!
Get your brushes and rollers (at a discount).
Stir the paint, and start painting! It’s so exciting! So easy!
And, sadly, in most cases, doomed to failure…
We know it’s easy to get excited about your next painting project. How tempting it is to jump in and see that beautiful painted finish materialize before your eyes.
We also know how easy it is for you – or anyone – to make costly, time-consuming and frustrating mistakes.
Avoidable mistakes!
The difference between the pros and the DIYers is that the pros spend most of their time (and money) on preparation, tools and materials – before they even dip a brush in paint.
We’ve been in the professional painting game since 1988, so we know a bit about how to get it right 😉
If you’re relatively new to painting, however, but keen to give it a go, we can help you avoid the common pitfalls.
Seriously. You’ll thank us!
So, here we go.
Here are 17 common painting mistakes (and how to avoid them)
1. Not preparing the room
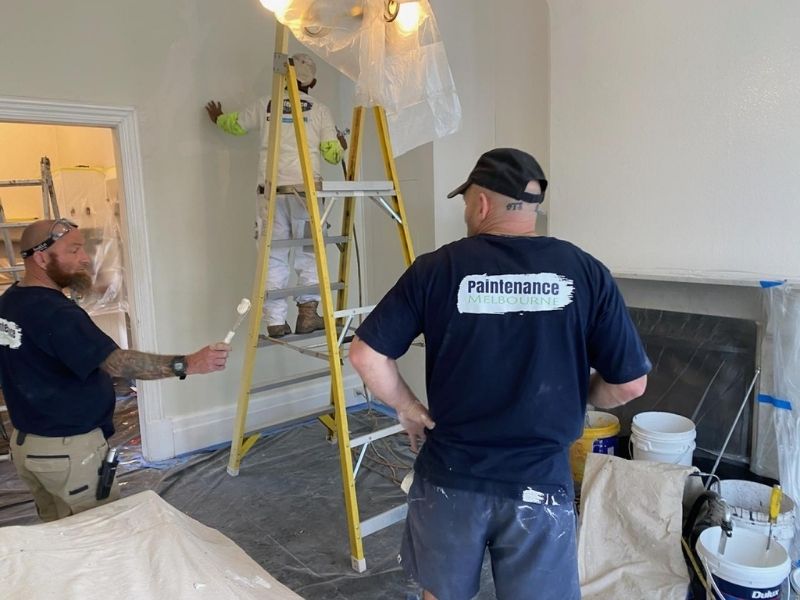
Before you even think of setting up your paint and materials, you should prepare the room.
An unprepared room can result in tripping hazards and paint splashes and stains on flooring, furniture and fixtures.
Remove any furniture from the room. If this isn’t possible, place the furniture in the middle of the room and cover it with plastic or drop sheets.
Cover the floor with drop sheets and tape them to the edges of the wall.
Move all breakable and precious items such as ornaments, photo frames, mirrors, free-standing decorative items and pictures or wall hangings out of the rooms to be painted.
It’s also advisable to take down any drapes or curtains and remove fabric items such as rugs from the space.
Finally, remove heating and air conditioning vent covers.
2. Not Getting Your Materials Ready
Whether you are using a brush and roller, or a spray gun as well, you need to organize your equipment before painting.
This will save you time, stress and will avoid fumbling around for the right item, or forgetting about it altogether!
Equipment and materials checklists are your friend, especially in the planning stages.
You don’t want a shoddy painting job just because you forgot to use some important equipment or materials.
3. Not Preparing your Surfaces
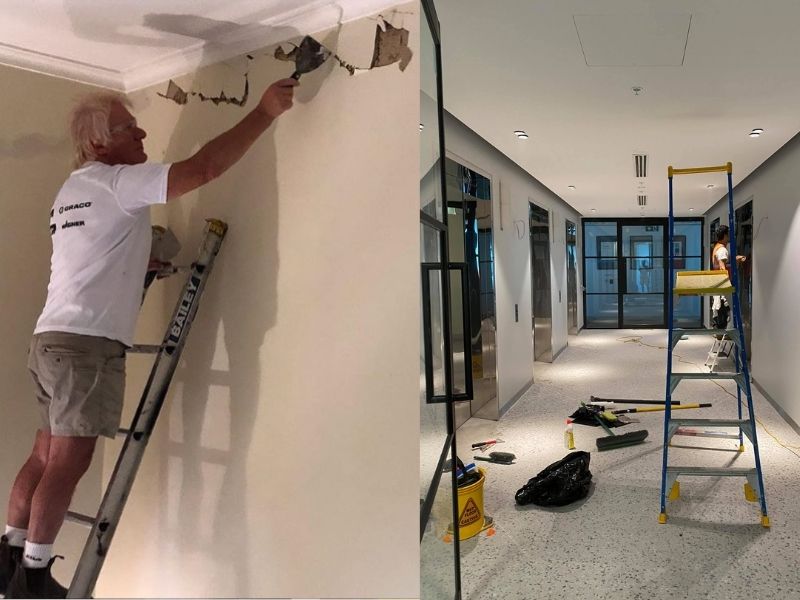
If you don’t prepare your surfaces for painting you will experience some real painting problems that will be much harder to fix later.
Make sure there is a good, dry surface for the paint to adhere to.
Fill cracks, holes and uneven spots in your walls first.
Your walls should be perfectly smooth, because any uneven places will stand out after you’ve painted your walls.
You can probably get away with cleaning walls down with a sugar soap solution and a cloth. That’s if they’re in good condition!
Bottom line is, you’ll need to get dust and grime off those walls.
It’s also a good idea to give the room a full, thorough clean, prior to the new paint being applied.
You want to avoid dust and dirt to be stirred up and settle on the surface of your once-flawless new paint job – before it even has a chance to dry.
Vacuum the walls, ceiling and floor, and dust off any cobwebs.
4. Forgetting to Mask
If you don’t mask it off, it will get paint on it – often with disastrous results.
Whatever you don’t want painted in the room, you need to mask.
Remember to use painter’s masking tape.
This especially applies to spray painting, but other types of painting as well.
Tape drop sheets to the floor.
Mask or cover light switches and skirting boards.
Apply masking tape over any switches and outlets.
Windows should be covered with plastic sheeting, taped around the edges.
Cover doors, sealing off doorways and door jamb edges.
Apply painters’ tape around any window frames, around the door frame, along the floor edge or skirting boards, and anywhere you want a clean line with no messy over-paint.
5. Using Cheap Paints and Materials
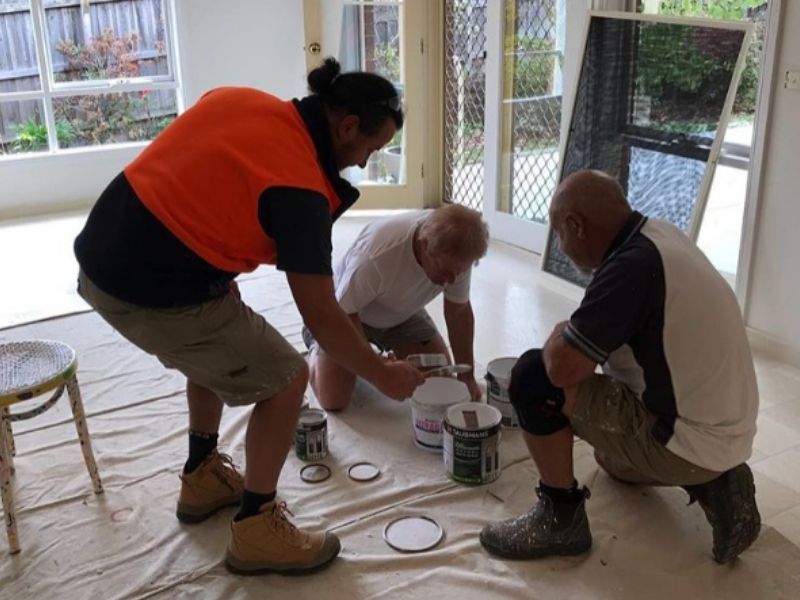
If you go with cheap or discount paint and materials, you’ll get an inferior result.
This can be avoided by using quality paint, for a start.
Using good quality paint is a good idea, as this will last longer and result in fewer repainting jobs.
Cheaper paints will give you more trouble, need repainting sooner, and will give you less coverage.
You’ll pay more in the long run, so invest more upfront to buy the better brands.
Using cheap materials like brushes and rollers is also a false economy. Always use good quality, well cleaned equipment.
Quality rollers and brushes will hold more paint and give a better finish than cheaper varieties.
If you’re not sure where to buy the best paints and materials, we recommend you visit our preferred supplier, Inspirations Paint at Nunwading.
6. Not Using Primer
If you don’t start off by painting with a primer, you could experience painting defects.
Using primer can improve the paint’s ability to provide a durable topcoat.
Primer can reduce the number of coats necessary to achieve full coverage and a smooth finish.
Primers are a type of paint with special qualities designed to improve bonding between coats; increase resistance from moisture damage or reduce appearance flaws caused by previous materials (i.e., sanding marks & stains).
When you paint trim, doors, or windows, using a primer will provide an extra smooth surface and good adhesion for the next layers of paint.
7. Forgetting to Seal Paint Tins
Quality paint is not cheap.
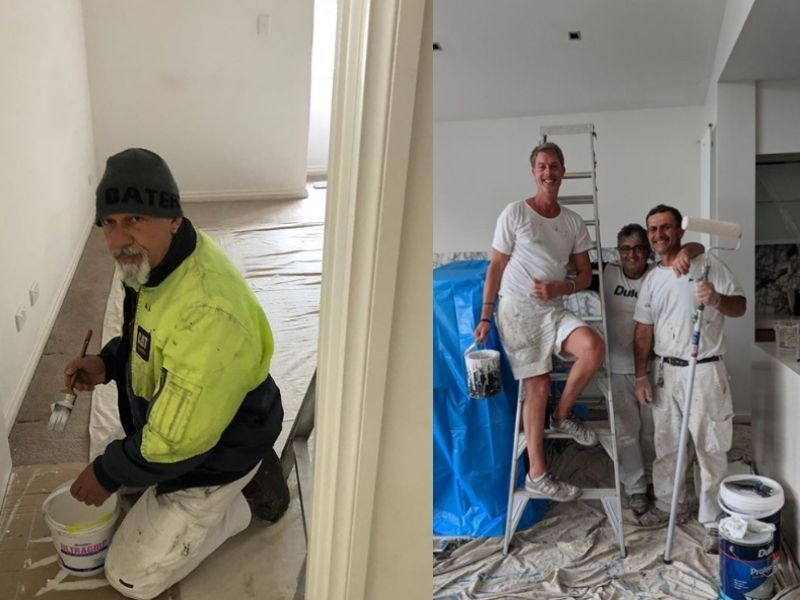
The last thing you want is your expensive, carefully-chosen paint to dry out after the first day’s paint because you forgot to seal the lid!
Always remember to close your paint containers with their lids after you finish for the day to keep the paint from drying out.
You can use a rubber mallet to lightly hammer the lid shut.
If you also add a film of plastic wrap over the opening this will ensure a tight seal.
8. Not Testing Your Colour First
If you don’t test your paint colour, you might get an unpleasant surprise.
When you are committing litres and litres of paint and several hours to painting your house, you have to get the colour right.
Sometimes a paint colour can look quite different from a colour swatch, especially with different lighting effects.
To avoid choosing the wrong colour, always ask for a sample pot first.
Then, test the sample colour directly on the wall. This will give a real sense of what the paint colour will look like.
Rather than paint the sample directly on to the wall, paint a large sheet (A3) of paper or card, then stick it on the wall.
For best results, place 2-3 test sheets in different areas around the room where the lighting varies.
If you decide you like it, great! Then sleep on it and check back the next day.
Colours can change depending on the light.
If you realize the colour is not right for that room or wall, that’s okay. You’ve just saved yourself a lot of wasted paint and time.
Buy another test pot and start again!
9. Painting on Humid, Hot or Rainy Days
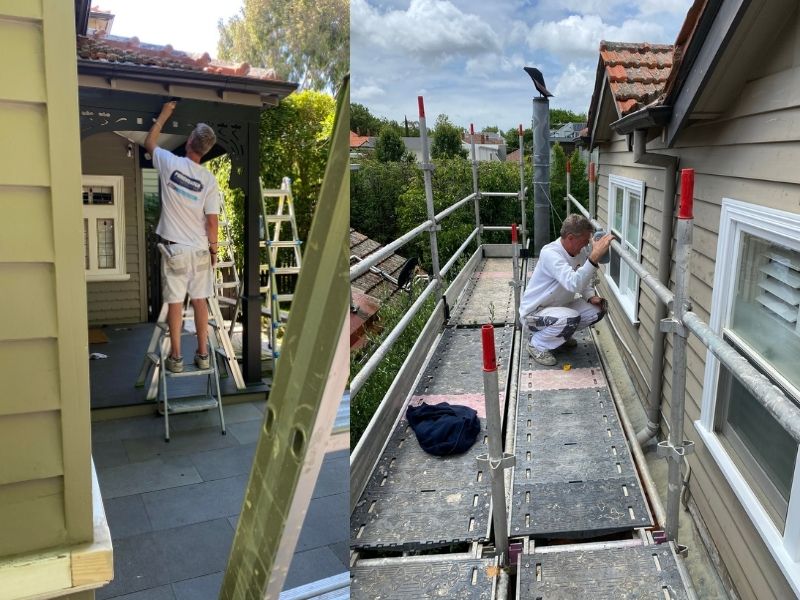
You should avoid painting when it’s wet.
Humid or damp conditions can lead to paint drips and slow drying.
If you still want to paint on a humid day, then take your time.
Take advantage of slow-drying paint to correct your errors before moving on to the next coat.
Check the weather, and choose dry spells when there is less rain and lower humidity.
Paint needs time to dry.
If surfaces are damp, paint will not stick to it.
We also advise you to play it safe and avoid painting in extreme heat.
Extreme weather causes paint to dry at a much faster rate. This can cause paint blistering or peeling, poor adhesion, and unappealing stroke marks.
Below 35 degrees Celsius is the ideal temperature, for both your health and the paint!
We recommend you avoid painting on rainy, windy, or dusty days, particularly when painting outdoors.
These harsher elements can affect paint adhesion and cause small particles of dust to stick.
10. Neglecting to check for any flaking, cracked or peeling areas of paint.
If you don’t remove any loose or flaky paint, your perfect paint job will not last long.
Any cracked, flaking, or peeling areas need attention.
Be sure to sand (or scrape as needed) any peeling paint to create a solid surface for the paint to adhere.
Fill any gaps with flexible gap filler and apply primer paint to these specific areas.
Remove any rust on metal surfaces by wire brushing or sanding the surface.
Then, use a quality Metal Primer before applying the topcoat.
11. Not sanding
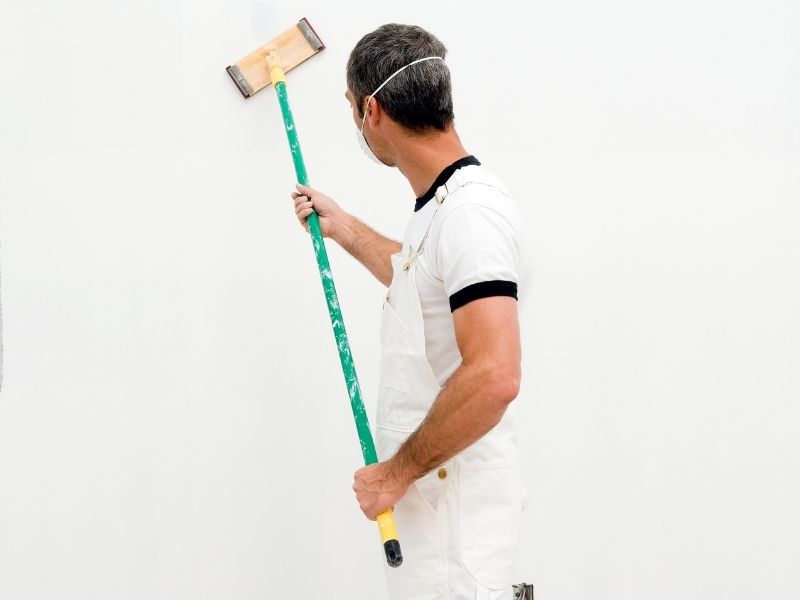
If you want a perfectly smooth surface for your walls, ceilings and woodwork you’ll need to sand it perfectly smooth.
Sanding removes cracked, peeling or rough spots in painted walls or wood trim.
Sand the trim before applying each coat of paint for an extra-smooth finish.
Use coarse sandpaper for rough surfaces and fine sandpaper for smoother ones.
Finally, give the walls a wipe-down to remove the sanding dust.
12. Using old bed sheets or plastic sheets to cover floors
You will want to protect your floors while painting.
Avoid using old bed sheets or plastic sheets to cover floors.
Thin sheets won’t fully protect against paint spills, and wet paint on plastic dries too slowly and is a slipping hazard.
Canvas drop sheets are best to protect your floors.
13. Not Keeping a ‘Wet Edge’
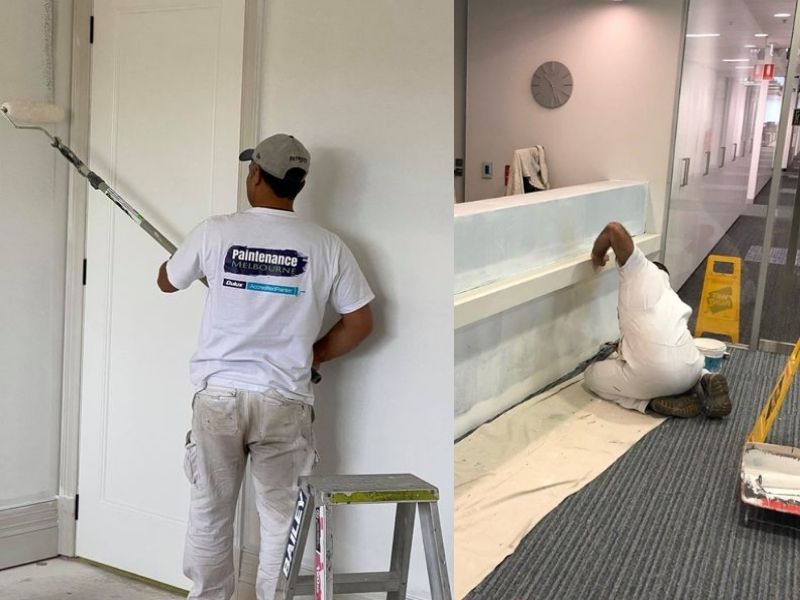
‘Framing’ is unsightly, and happens when a wall is painted with a roller but is brushed at the edges and corners.
The brushed areas appear darker, resembling the frame of a picture.
This can be caused by a failure to maintain a “wet edge” when painting.
To get a seamless look, cut in the edges on one wall, then roll on the paint before the cut in sections dry off.
This means that the brushed and rolled on sections will blend seamlessly.
14. Not Mixing Your Paint Properly
You don’t want to paint a whole wall or room, then notice slight differences in the colour!
The problem is, when you buy a few cans of the same colour paint, they’re never exactly the same.
This small difference can look glaringly obvious if you open a fresh tin of paint halfway through painting a wall.
To ensure colour consistency, the pros mix the different tins together in a large bucket, which is to ‘box’ the paint.
15. Getting Paint Drips
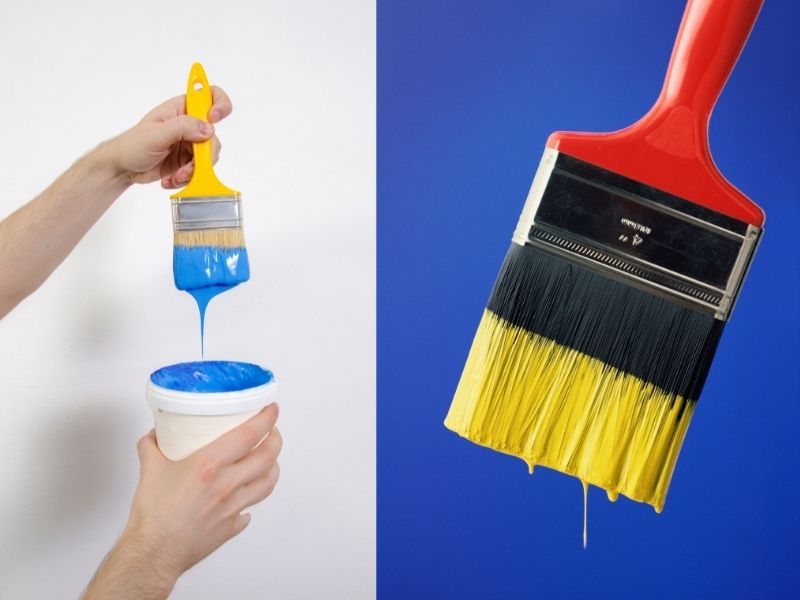
You can avoid unsightly paint drips.
To avoid drips with long strokes of paint, brush within 1.5 cm/.5 in. along wall trim, or within the cut-in area where the walls meet.
As the brush unloads paint, move the brush closer.
Slowly drag the brush along the trim or corner. To minimize or avoid overlap marks on large areas, feather out the paint along the edges you can’t keep wet.
Thinner, feathered paint edges will avoid a build-up of paint.
16. Missing a Spot While Painting
It’s easy to miss a spot while you’re painting. Missed spots are easy to fix while you’re painting, but not so easy when you have put the paint away.
This is more likely to happen when painting rooms with the same colour in poor lighting.
If you find yourself painting in poor light, get a bright work light.
Use the light to check your work as you go, particularly around the edges of a room where you may use a brush instead of a roller.
17. Not Keeping Your Equipment Clean
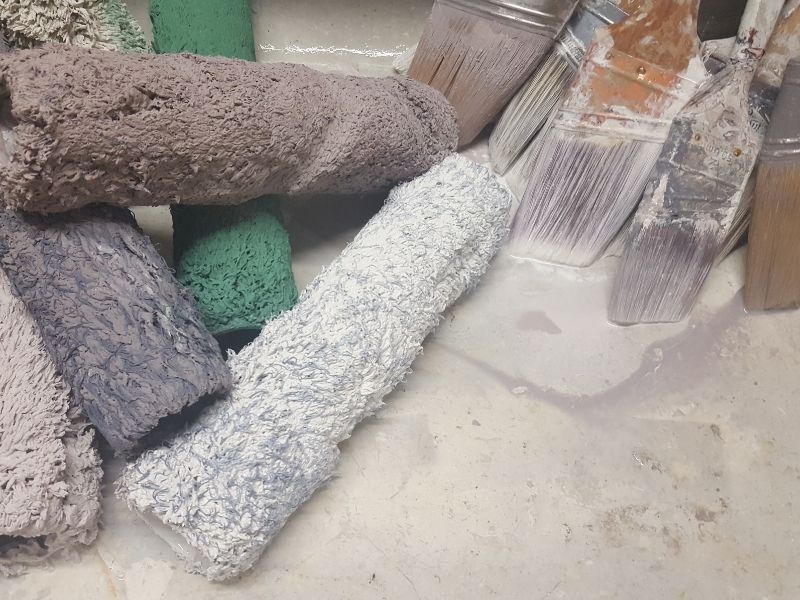
You don’t want your expensive rollers, brushes and other equipment to dry out and have to be replaced.
Rinse brushes in warm soapy water.
Use paint-thinner to clean off oil-based paint.
Rake the brushes straight with a brush comb.
Put your brushes back into their original wrapper or wrap them in newspaper.
You can leave the roller cover on the roller frame at the end of a painting day.
Soak the cover in paint, then wrap the cover in a plastic bag with an airtight seal. This will keep the roller cover and paint fresh for the next day’s painting.
Follow These Tips to Avoid Common Painting Mistakes
We hope that this list of common painting mistakes and how to avoid them has been helpful for you!
Of course, a lot of this probably comes down to common sense.
But some might say that there’s nothing common about common sense! This especially applies to painting.
There’s so much to be mindful of, and this can vary depending on the painting job.
If you follow these tips when you embark on your next painting project, however, you should avoid making any serious errors. And you’ll likely achieve great results.
As always, if the pitfalls of DIY painting are a little too daunting for you, please consult a professional.
Call Jonno from Paintenance Melbourne today on 0404 227 330 to discuss your next painting project.
Happy painting!


