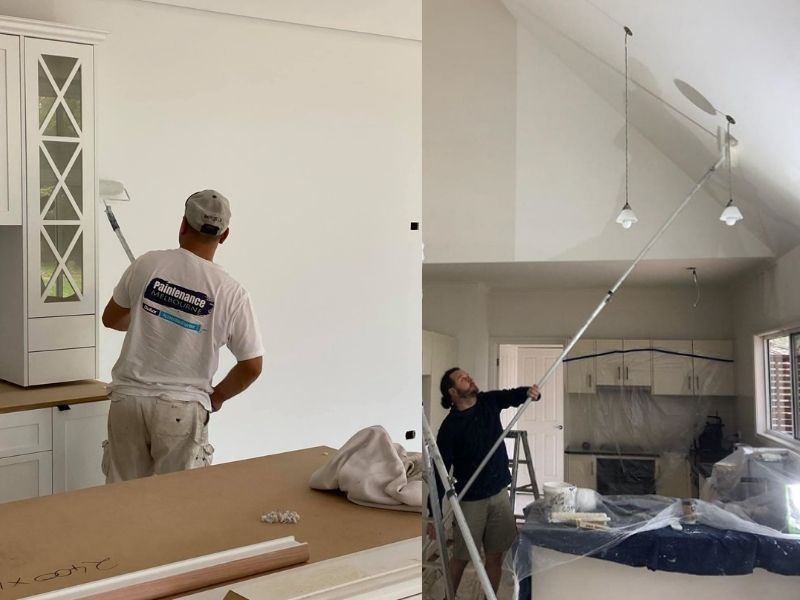
Spray Painting Exterior House Walls the Right Way

Spray Painting Exterior House Walls the Right Way

paintenance melbourne logo

Transform Your House Exterior with House Painting

Does the outside of your house need a serious makeover?

You can transform the exterior of your house without spending thousands on professional painters.

Using a spray paint gun, you can achieve a brilliant finish.

At Paintenance Melbourne, customer satisfaction and quality work are our highest priorities.

We love producing excellent painting results for our customers. Our testimonials and 5-star reviews evidence this.

However, if you’re going to spray paint a house exterior yourself, we want you to do it the right way.

Follow these guidelines to achieve the best results.
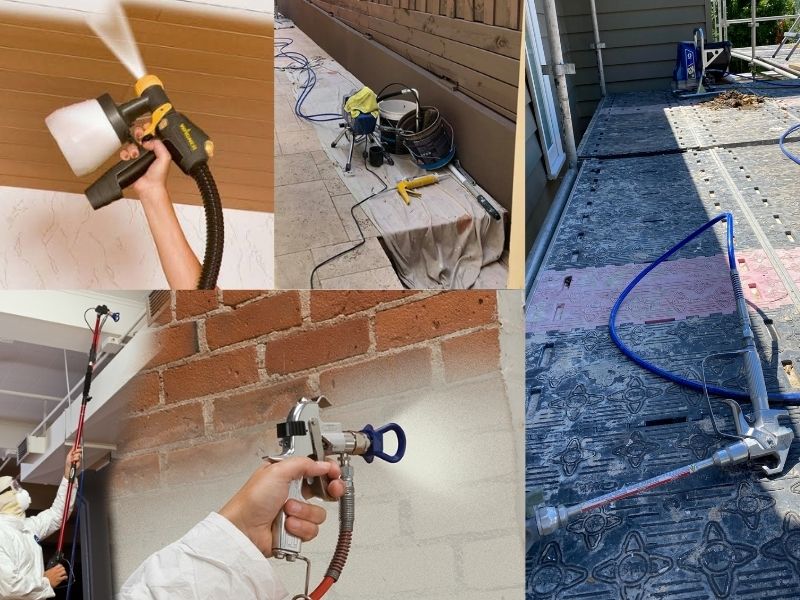
Choose the Right Tools for Spray Painting

Here is a list of all the tools and materials you’ll need to paint the exterior of your house.

  • Spray gun (we use and recommend Graco)
  • Exterior Paint
  • Two empty buckets for priming sprayer and clean-up
  • Safety glasses/goggles
  • Hat
  • Paint respirator/dust mask
  • Gloves
  • Painter’s tape
  • Drop sheets
  • Cleaning rags
  • Paint brush
  • Roller and tray
  • Stirrer
  • Water

When you operate spray equipment, always remember safety first. Use all recommended protective gear while you operate a spray gun and ensure good ventilation.
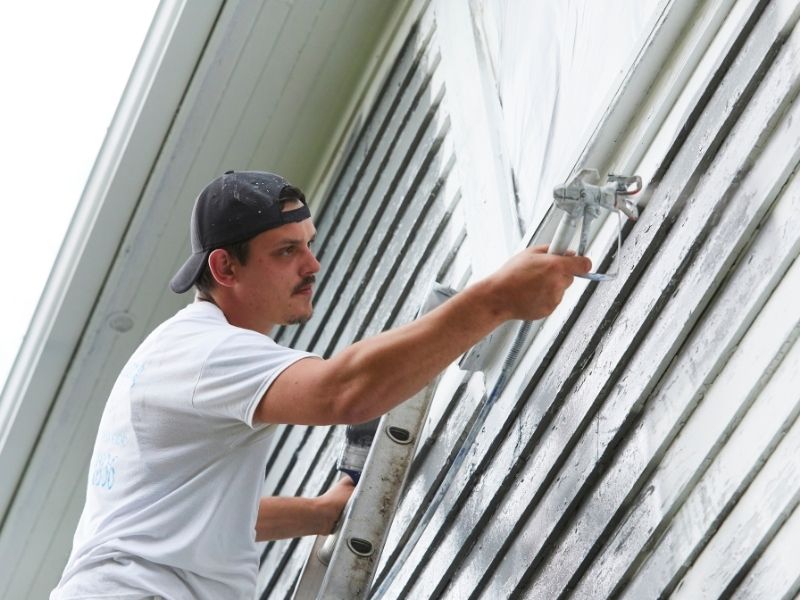
Exterior House Spray Painting Step-by-Step Guide

  1. Select the spray tip best suited for the paint you are using and the surface to be sprayed (refer to user’s manual).
  2. Pour paint into the second bucket. Dilute with about 10 percent water. This makes spraying much easier and will give you a fine spray of paint.
  3. Once you’ve added water to your paint, mix it together using your stirrer. Add more water or more paint until you’re happy with the consistency. Make sure it’s not too runny, or too thick.
  4. Next, mask and cover up areas such as windows you don’t want painted, using painters’ tape. Cover over or move any nearby garden equipment, fixtures, shrubs, plants, or outdoor furniture. Remove any fittings and fixtures such as outside lights, house numbers or shutters before painting.
  5. Check to make sure your wall is clean and ready for painting. If there’s any dust or cobwebs present, give it a quick brush down with a broom.
  6. Once your diluted paint is the right consistency, pour it into your spray gun. The nozzle on the spray gun should be pointing in the direction you want the spray to go.
  7. To start with, especially if you’re a beginner, choose a flat surface such as the back of the house that won’t readily be seen. Start at the top of the wall and work your way down.
  8. Spray the paint on any eaves or undersides first. If there are any exposed wood beams, or boards then spray the paint along the direction of the beams. When painting any eaves of the house, a spray gun tip extension is useful. This will allow you to safely spray hard-to-reach areas from your ladder.
  9. Work in sections as far as you can comfortably reach. Keep the spray tip approximately 12 inches/30 cm from the surface. Spray the outer edges first, ‘banding’ the area that you will spray. For inside corners, aim the spray tip directly into the corner so that the spray fan overlaps both sides. Overlap your spray paint passes by 50%.
  10. While painting, keep your spray gun an even distance from the wall. Use your whole arm to spray the paint, rather than from your wrist. Watch out for overspray. Don’t spray too close to gutters and windows.
  11. After you have completed any eaves or overhangs, spray the exterior walls themselves. Cut in around windows and doors first, and then spray the remaining flat areas, overlapping each pass again by 50%.
  12. When you’ve sprayed your first coat, use a brush and roller. These will be helpful to paint trickier areas, like gutters and windows or the grooves between bricks. Use paint straight from the tin for these areas – not the diluted paint for the spray gun. Pour some paint into a tray then begin rolling. To get a nice even coat, start by rolling ‘W’s onto your wall, then go back over with ‘M’ patterns. Use a paint brush to cut in along the gutter line.
  13. Once the first coat of paint is dry, change the nozzle on your spray gun to get a finer, more concentrated stream. This will ensure you get into those nooks and crannies the second time. Then apply the second coat and remove your painter’s tape. You’re done!

    Clean Up After Your Exterior Spray Painting

    • Remove painters’ tape from your trim only after allowing significant time for the paint to dry. This will achieve crisp, clean lines for your paint job.
    • Take off any coverings from the immediate surrounds. This might include, for example, garden fixtures, bushes, and plants. Carefully remove all painters’ tape and plastic sheet coverings from windows and door trim.
    • Replace any lighting fixtures, house numbers or shutters that you removed prior to painting.
    • Clean your airless spray gun after each use. Follow the directions in your user’s manual.
    • Return any other items like garden equipment or outdoor furniture etc. to their proper place.
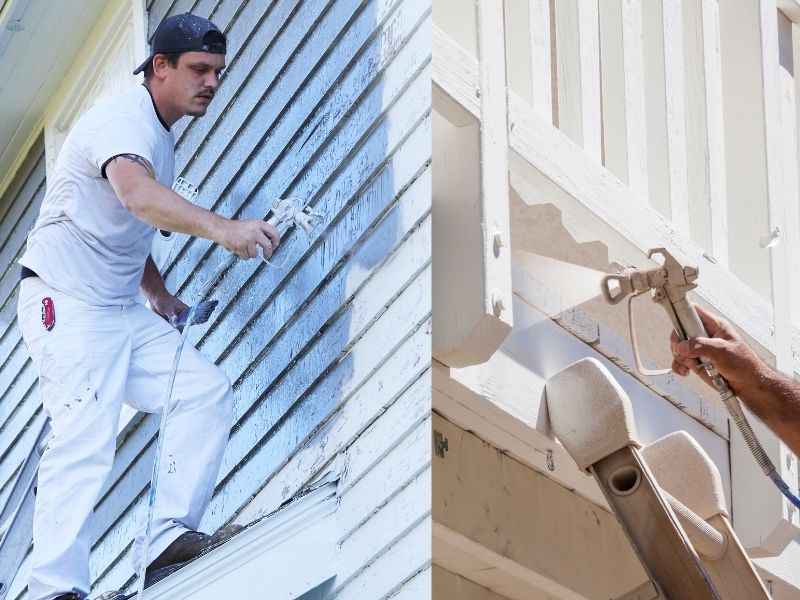
    Exterior Spray Painting for the Best Results

    Spray painting your house exterior can achieve a very satisfying finish.

    As with all other spray-painting jobs, using the right tools, preparation and knowing the right techniques are essential for the best results.

    You can totally transform the outside look and presentation of your home. And you will save a lot of money, if not time.

    You Can Hire Professionals Instead!

    If spray painting your exterior walls is a bit daunting and time-consuming, you have options. You can always leave it to the pros!

    Paintenance Melbourne offers you a range of spray-painted finishes for your interior and exterior surfaces.

    We use the latest equipment and cutting-edge techniques to ensure an impeccable finish – every time, on time!

    Contact us today for a free quote, or to discuss how your next painting job might benefit from our advanced spray-painting services.

    Article References:

    How to paint your house’s exterior with a spray gun – Bunnings

    How to paint the exterior of a house using an airless sprayer – Graco

    Painting Varnished Timber – the Ultimate Guide

    Painting Varnished Timber – the Ultimate Guide

    Video: Painting Varnished Timber – the Ultimate Guide *Currently 4.7k views

    paintenance melbourne logo

    Do You Want to Renew a Varnished Timber Piece?

    Do you have an old, varnished timber bookshelf, cabinet or table that has seen better days?

    Has the varnish worn away?

    Is the wood cracked, dirty and worn?

    And is this old wooden article in desperate need of a makeover?

    Maybe you still want to use the old furniture or item.

    But you don’t want it to look shabby and like something you picked up at the charity shop.

    Perhaps you’d like to give it a new lease of life to match your current decor.

    If so, it might be time to give your old, varnished timber items a full paint job.

    Painting varnished wood might sound easy.

    In reality, it’s quite tricky. There’s plenty that can go wrong.

    There’s also lots of preparation involved.

    We don’t want you to end up with a shoddy result. A blotchy paint job that’s filled with peeling and cracks.

    Here at Paintenance Melbourne, we’ll guide you through the process to make sure you get the best-looking painted furniture and wooden pieces possible.

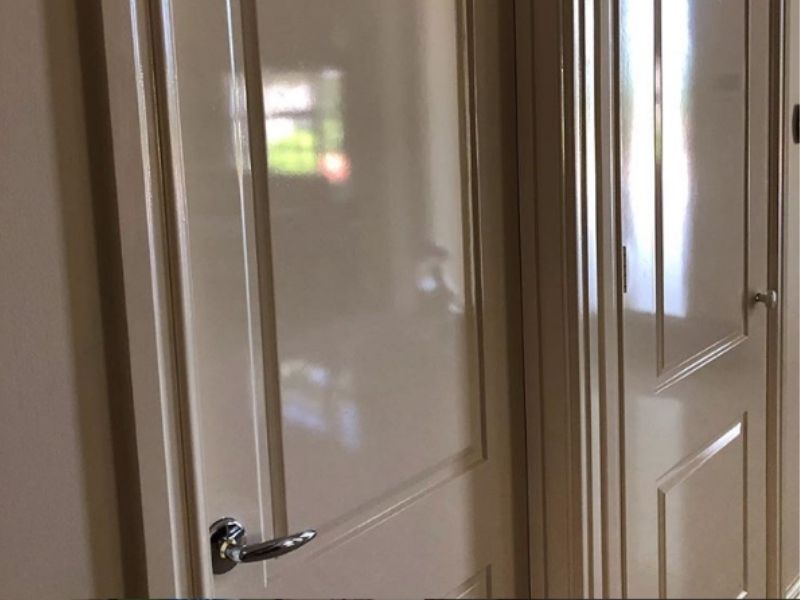
    painting over timber doors

    Can You Really Paint Over Varnished Timber?

    You might be wondering if you can paint over varnished timber successfully.

    So, what is varnish?

    Varnish is the thick transparent coat used to protect and give shine to surfaces.

    Varnishes are usually made of three components.

    • Resin
    • Drying oil
    • Solvent or thinner

    Varnishes are commonly used on wooden surfaces such as tables, doors, staircases, and flooring.

    Varnish wears out over the years. This makes imperfections noticeable and unsightly.

    When you paint over an old, worn varnished surface, it’s not just to make it look better.

    You can provide colour, dust protection, and extend the lifespan of a quality piece of furniture.

    This is recycling at its finest!

    So, the answer is yes, you can paint over varnished timber.

    Just follow these steps and we will show you how to do it the right way.

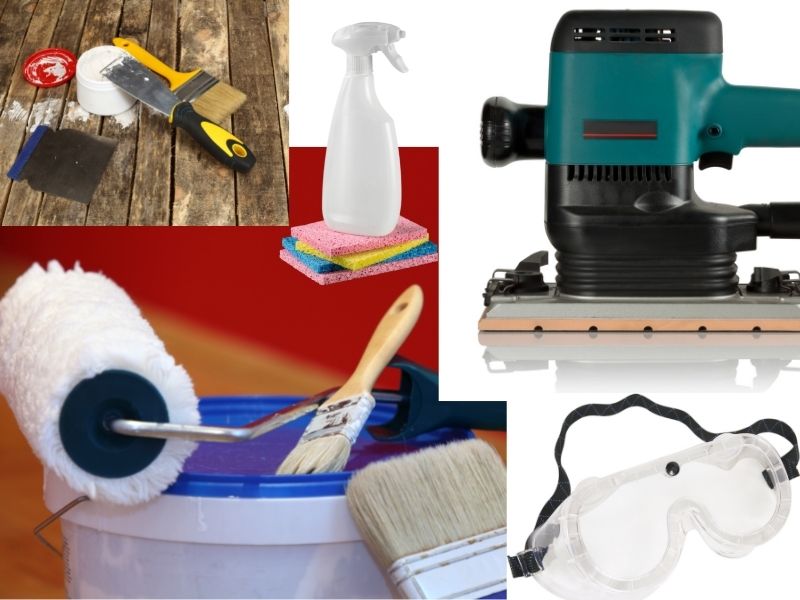
    painting tools and equipment

    Step 1. Get your tools ready

    Make sure you pick up all the necessary tools, materials, and equipment from your hardware store. Do this step before starting your furniture refinishing.

    This will include

    • A lint free rag or cloth, scouring pad
    • Detergent or household cleaner
    • Safety goggles
    • Mask
    • Rubber gloves
    • A roller and brush
    • Wood filler
    • scraper
    • Protective drop sheets
    • Electric sander
    • Fine-grit sandpaper
    • Water-based primer
    • Water-based paint
    • Paint mixing stick
    • Water-based varnish (optional)

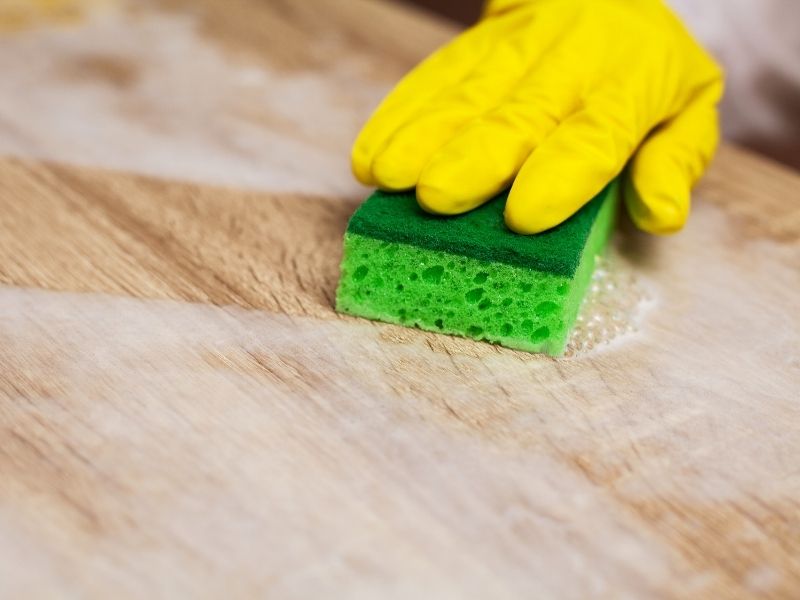
    Cleaning the surface of the varnished timber

    Step 2. Clean the surface of the varnished timber

    Before you start painting you need to prepare the varnished timber surface.

    This involves giving the surface a good clean. You want to make sure that dirt, grease, and dust won’t mix with the primer or paint.

    Firstly, dust the surface off with a clean cloth or rag.

    Then, wipe down any areas you want to paint with a household cleaner.

    Spray the cleaner over the top of your timber surface, and wipe in circular motions.

    If you find any stubborn areas of dirt and grime, spray some cleaner over the spot and use a scouring pad to scrub it clean.

    For hard-to-remove spots, try wiping them down with trisodium phosphate (TSP).

    Next, wipe off the damp cleaner residue with a clean, dry cloth. Let the surface dry for at least 5-10 minutes.

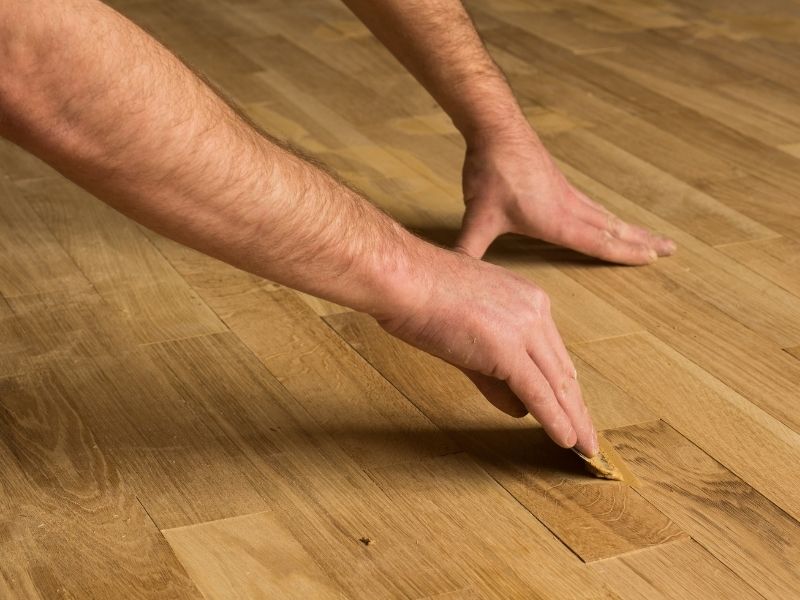
    filling in cracks in the wooden surface

    Step 3. Fill in any small surface imperfections, scratches or cracks

    By now your varnished timber should be sparkling clean.

    If there are any dips, cracks, scratches, or dents in the surface you’ll need to fill these in.

    Don’t miss this step.

    You might think that a few coats of paint will cover up any irregularities. This is wrong.

    You risk getting poor adhesion, flaking, or blistering paint.

    To avoid undesirable results, fill in any cracks or imperfections with a wood filler and a scraper.

    Wood filler is a creamy paste that covers any uneven spots in wooden surfaces.

    To use wood filler, scoop up a small amount with your scraper, and spread it with consistent pressure over the crack or indentation.

    It’s best to use a scraper that’s larger than the imperfection to spread the filler evenly across the surface. Repeat this process for all the imperfections you see.

    Smoothing out your surface with wood filler ensures the paint applies evenly and smoothly.

    Read the instructions on your wood filler to determine drying time. As a general guide, wait about 30-90 minutes for the filler to dry completely.

    If you sand the wooden surface before the filler is completely dry, your surface may be uneven.

    Sanding down your varnished timber surface

    Step 4. Sand down your varnished timber surface

    Before doing anything, make sure you are working in a well-ventilated environment.

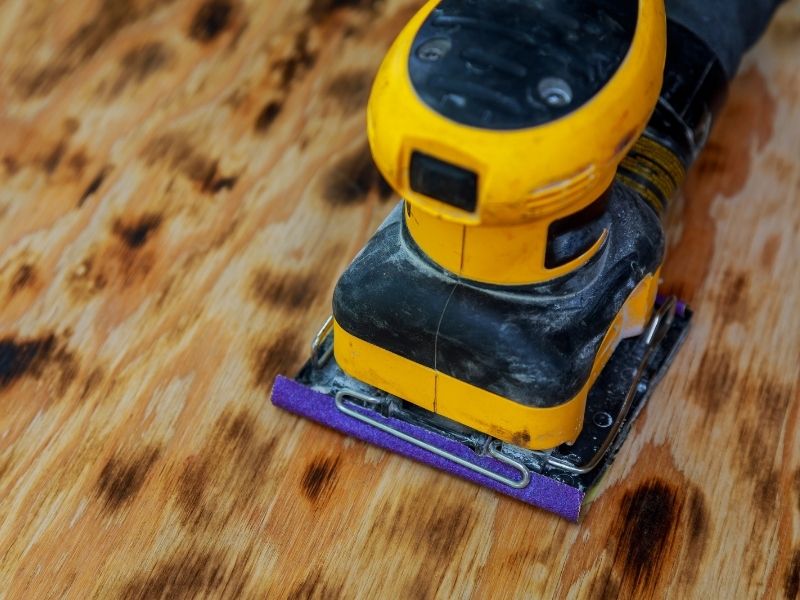
    Sand the varnished timber surface before painting. A fine grit sandpaper is perfect to even out the surface.

    Use an electric sander for an effortless sanding experience.

    Otherwise, sand the surface by hand; especially if there are intricate spots or details.

    Keep sending in small circular motions until the surface of your timber is smooth and level. Doing this finely etches the surface and makes it easier for the paint to stick.

    As you sand the surface, cover your mouth, eyes and nose with a face mask and goggles.

    Try to avoid breathing in the dust and debris as you sand.

    If you want an extra smooth finish, sand the surface with medium-grit sandpaper. Do this after you finish with the fine-grit sandpaper.

    This is particularly helpful if your timber surface is damaged or uneven.

    Applying primer to the varnished timber item

    Step 5. Apply primer to the varnished timber item

    You will need to apply primer to the varnished timber, particularly if it’s in poor condition.

    To ensure good paint adhesion, apply a coat of water-based primer.

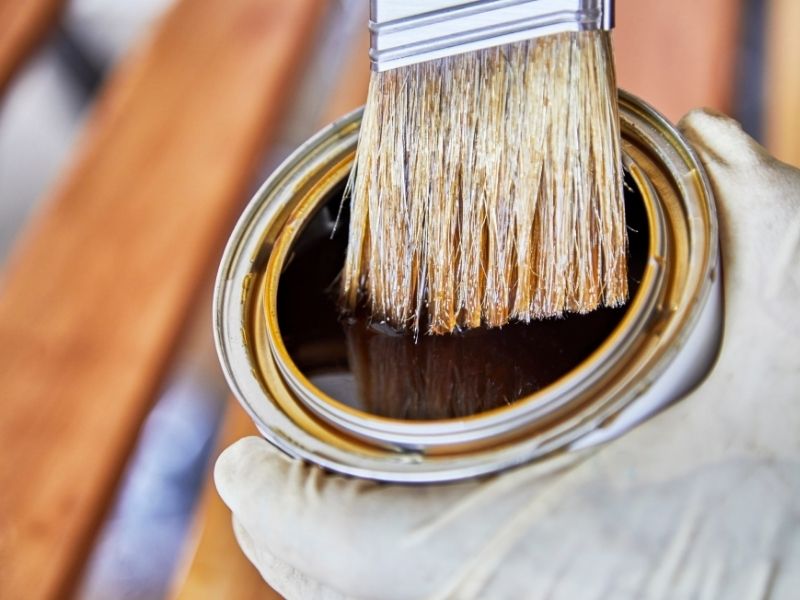
    • Stir up your water-based primer with a paint stick.
    • Pour some primer into a paint tray.
    • Dip your roller or brush into the primer
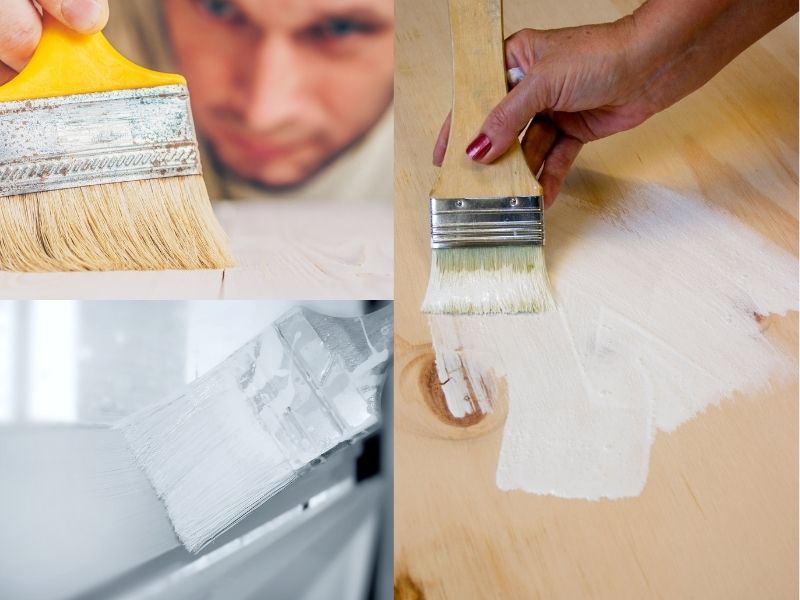
    • Apply an even coat of paint in wide strokes.
    • Ensure the varnished timber surface is completely covered

    Applying primer to a varnished timber surface achieves many desirable outcomes:

    • It seals off the underneath surface
    • It prevents the wood grain showing through the topcoat
    • Stops wood grain and knots from bleeding through the paint
    • Achieves great adhesion between the surface and the topcoat
    • Reduces the number of topcoats to get the real colour you want to see (especially when you paint over dark stained wood)

    Use a paint roller to cover large, flat areas.

    The preferred method is using a small or medium-sized paint roller. This works well because you can apply the paint quickly and thoroughly without overworking the paint.

    Apply the primer with a medium-sized brush to cover small or intricate surfaces.

    If you are painting over a dresser with fine corners or the edge of a table, for instance, it may be easier to apply the paint with a smaller brush.

    Use a 1–2 in (2.5–5.1 cm) brush instead of, or in addition to a paint roller.

    Wait about an hour for the primer to dry.

    Before you apply more paint, make sure the primer is completely dry.

    Please note that drying time may vary depending on your type or brand of primer.

    Touch the surface of the item with your fingertips to make sure it isn’t tacky before going ahead with the next step. 

    You might need to apply a second coat of primer after the first coat of primer dries. This would be advisable if you are covering a very dark varnished surface.

    Painting the varnished timber item

    Step 6. Paint the varnished timber item

    Once the second coat of primer is dry, you’re ready to paint the timber surface.

    We recommend you use a water-based paint. This will give you a quick drying slightly shiny effect.

    • Pour some of the paint into a paint tray
    • Dip in a fresh roller or clean paint brush
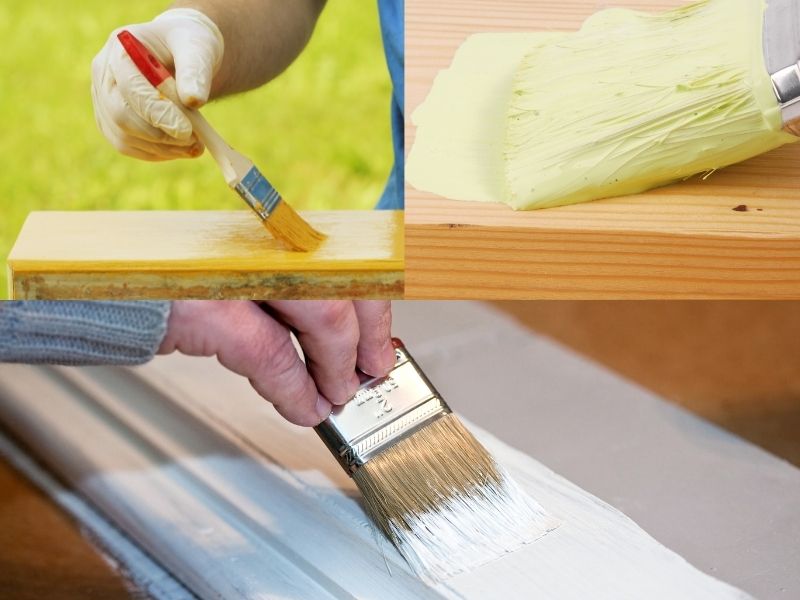
    • Apply the paint to your item in wide solid strokes
    • Cover the whole surface, making sure you don’t miss a spot.

    Pro-tip: Oil-based paints are not recommended when painting over varnish. This is because the oil-based paint may not absorb into the wood properly.

    Allow the painted surface to dry thoroughly. Then, lightly sand between coats. This will help you produce a seamless finish.

    It will take at least 1 hour of drying time after the first coat.

    Apply a second coat of paint to completely cover the timber surface. 

    You don’t want to risk getting an uneven look at the end of the painting job.

    After the second coat, you should achieve a flawless finish for your rejuvenated timber item.

    water-based varnish

    Step 7. (optional): Add a coat of water-based varnish for a shiny, durable finish.

    This is an optional step. However, applying a coat of water-based varnish can preserve your paint job and make the surface look great.

    Wait until the paint is completely dry. Then apply a solid, even coat of varnish using a roller or paintbrush.

    final thoughts on painting over varnish

    Final Thoughts

    Old varnished wooden items will suffer wear and tear over time.

    Some people might quite like the ‘weathered’ or ‘distressed’ look.

    If so, great!

    If you don’t like this look, then it will be very satisfying to paint over it.

    Don’t forget, though, if you’re serious about achieving beautiful, long-lasting results you need to prepare and set up properly.

    Refinishing one of your old timber items is a brilliant way to freshen up and reuse a fine vintage piece.

    However, in case all of this seems like too much work, you can always turn to a painting professional to handle the job for you!

    For article references and further reading on this subject see:

    How to Paint With a Roller Without Streaks

    How to Paint With a Roller Without Streaks

    Video: How to Paint With a Roller Without Streaks *Currently 39k views

    paintenance melbourne logo

    Why Use a Roller?

    Rollers are designed to hold lots of paint.

    This allows them to cover large areas quicker and easier than using just a paintbrush.

    Using a roller is still one of the best ways to apply paint. They’re great for large coverage, and easy to use.

    Well, mostly!

    Sometimes after a paint job with a roller you can still see streaks or marks. That’s not the finish you were after!

    Roller streaks look unprofessional and unsightly.

    Roller marks and streaks shouldn’t happen.

    If you want to avoid these, there are plenty of tips and tricks.

    We’re here to show you how.

    use quality equipment

    Use Quality Equipment

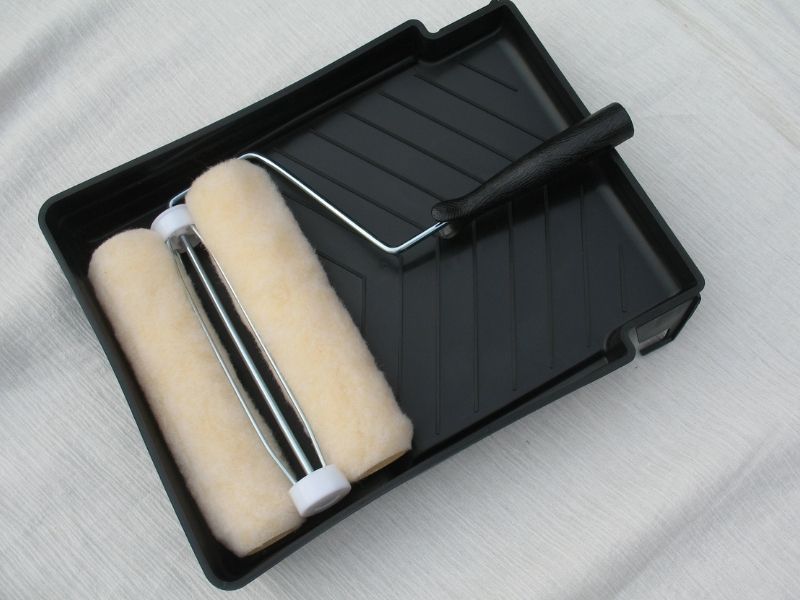
    When using a roller, you’ll need the following:

    • Tray
    • Frame
    • Roller cover
    • Extension pole.

    Always use good quality, well cleaned equipment.

    Quality rollers will hold more paint and give a better finish than cheap rollers.

    First, start with an even surface.

    Most painting mistakes can be prevented by patching holes and fixing dents in the walls and ceilings before you apply your primer.

    Before you start using your roller, paint the edges using a brush you are comfortable with.

    The more confident and experienced you are, the bigger the brush you could select. Bigger brushes hold more paint and make for a quicker paint job.

    Cut-in the edges of one wall at a time.

    Paint all edges, corners, and around light switches.

    Start with the corner, then bring the line of the paint out from it to make rolling easier.

    Once you have finished ‘cutting-in’, with the roller loaded with paint lay it carefully against the wall.

    Roll in an upwards direction first, moving across the wall area in a rough ‘W’ pattern. Aim to complete one square metre with each roller load, spreading the paint as evenly as possible.

    use the right roller

    Ensure You Have The Right Roller For The Job

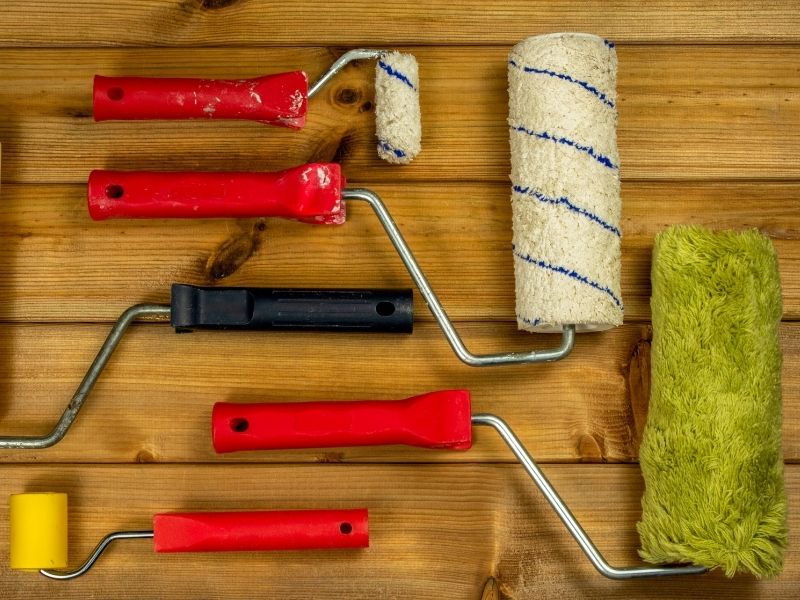
    Use the right size roller for the job.

    Use a larger roller for a large surface. Use smaller rollers in areas that are tighter. This will prevent you from limiting your strokes and will cover the surface with more efficiency.

    As a general guide:

    • 6-8mm nap covers are used for gloss and semi-gloss paints
    • 10-12mm nap covers for low sheen and flat paints on walls
    • 20-32mm nap covers for most paints on rough surfaces like concrete or textured walls

    Rinse new rollers in water (for water-based paints) or turps (for solvent borne paints). This will remove any loose fibres or dust before use.

    If your roller handle has been used before, place a drop of oil on the roller handle bearings (i.e., the two plastic end caps). It will make painting much easier.

    When using water-based paints, lightly dampen the roller sleeve before use.

    Ensure excess water is removed.

    The roller should be slightly damp rather than wet to touch.

    Your roller tray should also be clean.

    Don’t overfill the tray with paint. Loading the roller is more difficult and spillages are more likely.

    Once you have poured in the right amount of paint in the tray, roll the roller into the paint to saturate the roller fabric.

    The ribbed section of the paint tray will help to squeeze out the excess paint. Make sure your roller gets an equal distribution of paint.

    When you roll on the paint, keep a wet edge. This is crucial to all top-quality paint jobs.

    Plan Your Painting Job

    Work fast enough so that you’re always lapping newly applied paint onto paint that’s still wet.

    If you take a break, make sure you stop painting at a natural break in the wall or ceiling, such as a corner.

    Place the roller head right inside the paint in your roller tray.

    Put a plastic bag around the entire roller tray and seal it. This will keep your roller wet ready for painting when you have finished your break. It will also save you washing your roller unnecessarily.

    If you stop for a break in the middle of a wall, for example, and then start painting after this section has dried, you’ll see a lap mark where the two areas join.

    To avoid this problem, you need to quickly cover a large area with paint. Then, return to smooth it out.

    At times roller marks won’t be visible unless you see the walls in different lighting.

    Everything might look great until you open a curtain. Daylight shines on the walls, and suddenly you see streaks.

    If this happens, go over these areas with another coat of paint, or use sandpaper to even out the edges.

    What To Do if You Have Painting Streaks or Marks

    • Apply another coat of paint.
    • Paint over areas where you see streaks. Even them out with another coat.
    • Be careful not to apply the wrong type of pressure or fail to use enough paint on the roller, which may have created the streaks in the first place.
    • Use fine grit sandpaper to even out roller marks.
    • Wipe the surface down after you’ve finished with the sandpaper. Then paint over the streaks lightly.

    wash your roller

    Wash Your Roller When You’ve Finished Painting

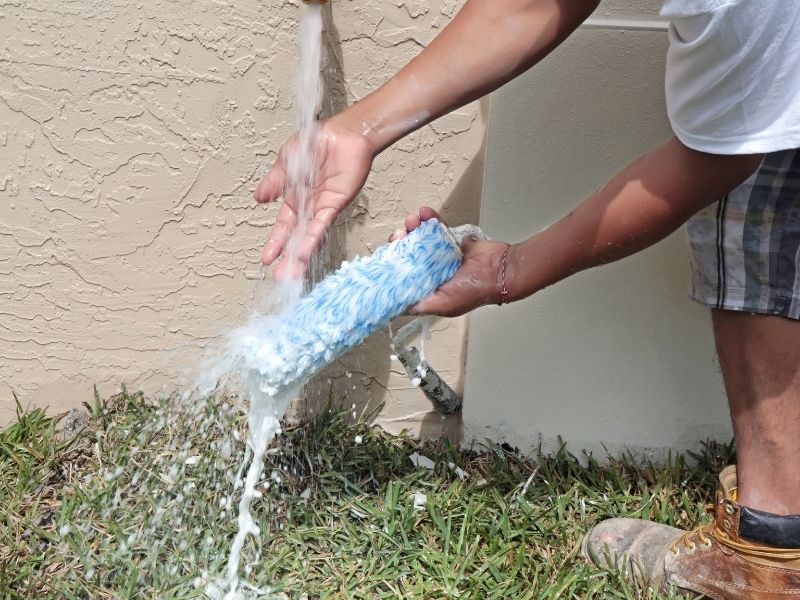
    Always wash rollers and trays immediately after you’ve finished painting. A clean roller will help prevent streaks on future paint jobs.

    When you’ve finished your painting job, roll out as much excess paint from the roller sleeve as you can.

    Immerse the roller in a bucket of water. Squeeze through the pile of the roller with your fingers.

    Repeat this process in successive buckets of water until clean. Dry the sleeve in the open air.

    Pour out soiled water in the garden, not the drain.

    It is recommended for you to discard foam sleeves after applying solvent-borne paints. They are time consuming and expensive to clean.

    Store roller sleeves upright when they’re clean to avoid flattening the pile.

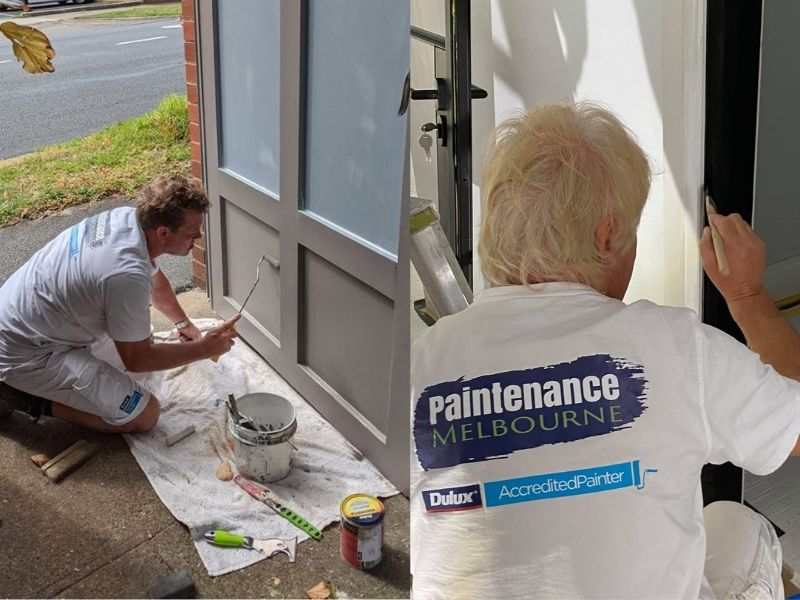
    professional painters with paint roller

    Prevent Roller Marks by Hiring a Professional Painting Contractor

    If you’re one of those resourceful individuals who are keen to tackle their home improvement projects, we salute you.

    Painting is one of the most common projects that people take on for themselves.

    However, there are obvious differences in the end results of what the average Do-It-Yourself painter can do compared to the professionals.

    We applaud the efforts of all DIY painters out there.

    We’re also here to assist our customers with painting projects, offering stunning results – without all the headaches.

    Paintenance Melbourne uses the right tools for the job, the best quality paints and we employ the techniques that quickly and efficiently gets the job done, on time and on budget.

    Is your project something that can be completed in one day?

    Let us know how your painting projects are going, and if you need any assistance.

    We’d love to hear from you!

    Article references and for further reading and information on this topic:

    Pro Painters – How to Prevent and Fix Paint Roller Marks After Drying: Five Tips for Beginners 

    Resene Paints – Painting with Rollers

    Reliable Remodeler – Top 10 Painting Tips to Avoid Roller Marks

    Dulux – How to Use a Paint Roller

    for Website sale conversion page -->